Product photography plays a key role in the success of your eCommerce and digital marketing strategies. In the highly competitive online marketplace, visually appealing product photos can make a significant difference in attracting potential customers. And ultimately increasing sales. Whether you're a professional photographer specializing in product photography or a business owner looking to improve the visual representation of your products, Including a camera tripod stand in your photoset can significantly improve the quality and consistency of your photos.
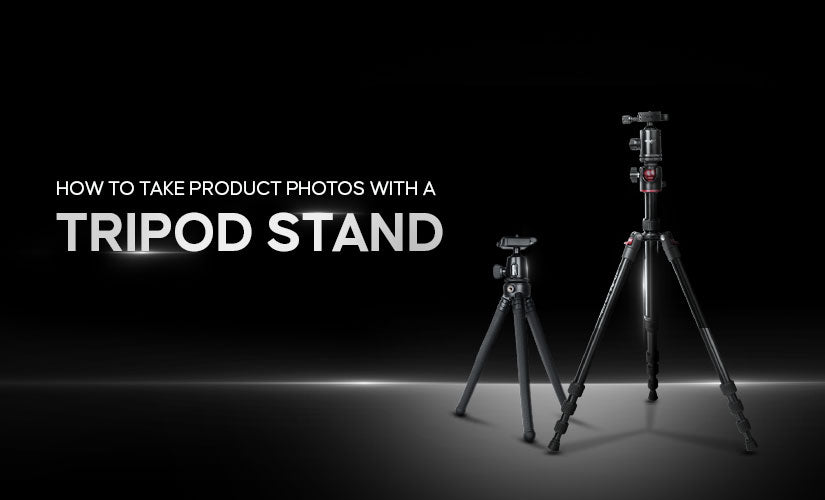
A tripod is a versatile tool that provides stability and precision. Allowing photographers to capture sharp, well-composed photos. By eliminating camera shake, a tripod ensures that every detail of your product is captured precisely. Resulting in high-quality photos that effectively highlight your product's features and characteristics.
The Importance of a Tripod Stand
Before we get into the details of product photography, it is important to understand the importance of using a tripod. A tripod provides a stable base for your camera, preventing camera shake and ensuring crisp, clear photos. This is especially important when photographing products, where precision and detail are important.
Choosing the Right Tripod Stand for Your DSLR
One of the first steps to mastering product photography is choosing the right camera tripod stand for your DSLR camera. Several factors influence this decision. First, consider the weight of the camera, the camera batteries, and the dimensions of the products you want to photograph. Make sure the tripod you choose can comfortably support the weight of your camera and any additional accessories. Also, think about the environment in which you will be working. If you want to take photos outdoors or in difficult conditions, choose a sturdy and stable tripod. For studio work, a compact, lightweight tripod stand for DSLR may be sufficient.
Setting Up Your Camera and Tripod
Once you have your tripod, it's time to set up your camera. Begin by attaching your DSLR securely to the tripod head. Ensure that the camera is level and straight to avoid any distortion in your product images. Most tripods come with a built-in bubble level, making this step relatively straightforward.
Positioning Your Product
The placement of your product is critical to capturing its best angles and features. Whether you're shooting a small item for e-commerce or a larger product for advertising, ensure that it is clean, free from dust or imperfections, and properly lit. Experiment with different angles to find the best angle for your product.
Choosing the Right Lighting
Effective lighting is the basis of professional product photography. Whether you're shooting in a studio with artificial or natural light, the key is to control and manipulate it to your advantage. Experiment with different light sources such as softboxes, diffusers, or reflectors to achieve the desired look for your product..
Working with Camera Settings
To best capture your product, you need to understand and adjust your camera settings. Start with ISO, which controls light sensitivity. When doing product photography, it is often best to keep the ISO low to reduce noise and maintain image quality. Next, consider the aperture settings. A smaller aperture value (e.g. f/2.8) creates a shallow depth of field, ideal for highlighting a single subject by blurring the background. A higher aperture value (e.g. f/11) increases the depth of field and ensures that more of the product remains in focus. Shutter speed is also important. When photographing still subjects on a tripod stand for DSLR, use a slower shutter speed to let in more light and get a sharp image.
Using a Remote Shutter Release or Timer
Even when using a tripod, pressing the camera's shutter button may cause slight vibrations that may cause the photo to become blurry. To eliminate this problem, use a remote shutter release or the camera's built-in timer. This ensures that the camera batteries are completely stable when taking photos.
Controlling the Composition
Experiment with different angles and shots to find the best composition for your product. To create visually appealing images, you need to consider the rule of thirds, leading lines, and negative space. The tripod allows precise adjustments to achieve the perfect composition.
Focusing on Your Product
Perfect focus is crucial in product photography. Use your camera's autofocus mode to focus on your product, or consider manual focusing for more control. Use the camera's Live View mode to zoom in on the product and ensure focus. Remember to check the product details on your camera's LCD screen before finalizing your photo.
Utilizing White Balance
Correct white balance is essential to ensure the colors in your product photos are accurate and realistic. Adjust your camera's white balance settings to suit the lighting conditions you're working in, or use the Gray tab to set a custom white balance.
Taking Multiple Shots
Professionals are rarely satisfied with just one image when photographing products. It is recommended to take multiple photos with slight differences in composition, angle and lighting. This approach provides options in the post-production phase and ensures that you present the product in the best possible light.
Reviewing and Post-Processing Your Images
After the photo session, transfer the photos to your computer for review and further editing. Pay attention to details like exposure, sharpness, and color accuracy. Use photo editing software to edit your product photos to ensure they meet your desired specifications.
In Conclusion
To summarize, using a tripod for your DSLR camera can greatly improve the quality of your product photography while ensuring stability and accuracy. When taking product photos, it's important to hold the camera steady to avoid blur or distortion. With a tripod, your camera stays steady throughout the shooting process, allowing you to create high-quality photos that accurately reflect your products.
In addition to stability, a tripod also allows you more control over your composition. With a tripod, you can easily adjust the height, angle, and position of the camera to capture products from different perspectives. This flexibility allows you to showcase different features and details of your products, making them more attractive to potential customers. When choosing a tripod for your DSLR, it is important to consider its load capacity, height range, and stability.


Leave a comment
This site is protected by hCaptcha and the hCaptcha Privacy Policy and Terms of Service apply.