In the world of content creation, video quality is more important than ever. Whether you're a vlogger, beauty influencer, or professional looking to create engaging video content, the right lighting can make all the difference. One of the best tools at your disposal is a ring light. This versatile, easy-to-use accessory lets you produce professional-quality videos from the comfort of your own home. In this guide, you'll learn how to get the most out of your ring light and create stunning videos that will capture your viewers' attention.
Understanding the Ring Light
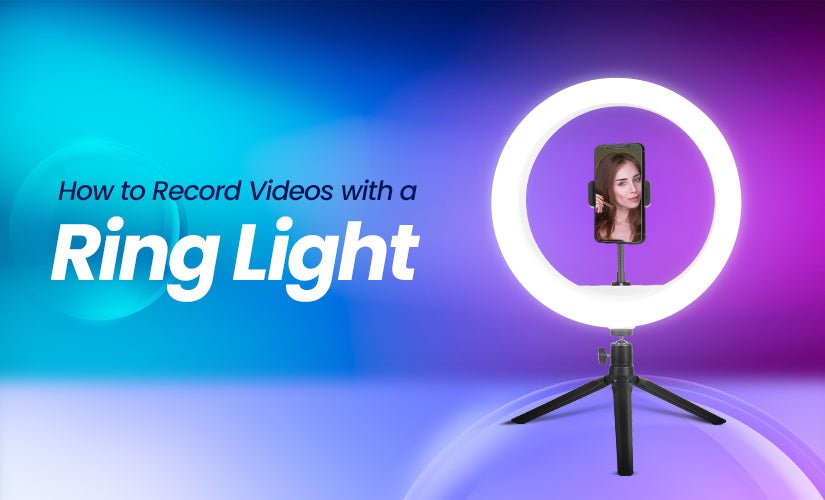
Before we get into the details of using a ring light, ring lights are commonly used in photography and videography to improve the quality of ring light photos and videos. They are particularly useful in portrait photography because they illuminate the subject's face evenly and highlight their facial features. Ring lights are also popular with beauty bloggers and makeup artists because they provide soft, diffused light that highlights makeup details. In order to use the ring light, position it correctly. Place the ring light in front of your subject with the camera lens in the center of the ring. This distributes the light evenly across the subject's face, creating an effective and natural effect. If you use a stand, make sure it is stable and secure so that the light ring does not wobble or tip over.
Choosing the Right Ring Light
The first step to creating professional videos is choosing the right ring light for your needs. There are many options available, but it is important to consider factors such as size, power source, and adjustability. The ring light with the stand offers stability and flexibility, allowing you to position the light at the perfect angle. Also, choose a ring light with adjustable brightness and color temperature so you can adjust the lighting to suit the mood and style of your video.
Setting Up Your Ring Light
Once you've purchased your ring light, it's time to set it up. If necessary, first attach the light to the holder. Place the mount behind your camera or smartphone, making sure the ring light is at eye level with your subject. This arrangement contributes to uniformity and even lighting. Make sure the ring light is securely attached and there is no risk of it tipping over while recording video.
Controlling the Lighting
One of the most important benefits of using a ring light is the ability to control the light intensity and color temperature. You can adjust these settings to create the perfect atmosphere for your video.
Brightness:
Ring LED lights typically offer a range of brightness levels. Lower settings work well for creating a soft, subtle glow, while higher settings can create a more dynamic look. Experiment with different brightness levels to find the one that best suits the theme of your video.
Color Temperature:
Ring lights often have the ability to adjust the color temperature, allowing you to switch between warm and cool lighting. Warm light (approx. 3,000 K) creates a warm, inviting atmosphere, while cool light (approx. 6,000 K) creates a clean, modern look. You can also adjust the color temperature based on the ambient lighting in the room where you are recording.
Positioning the Ring Light:
Proper positioning of the light ring is essential for professional results. Here is how to master it:
Frontal Lighting:
Place a ring light directly in front of your subject for regular beauty shots and interviews. This creates a shadow-free, flattering effect, making it the ideal choice for makeup tutorials, skincare demonstrations, and interviews.
Side Lighting:
To add dimension and depth to your videos, you can experiment with side lighting. Place the ring light at a slight angle to the side of your subject. This technique can be particularly effective when creating dramatic and artistic shots.
Overhead Lighting:
Overhead lighting is perfect for displaying products or creating a well-lit backdrop. The ring light can be hung from the ceiling or attached to a pole. This approach is often used when preparing videos and unpacking content.
Using Ring Light for Photography
The ring LED lights aren't just for video recording; They are also extremely useful in photography. Whether you're shooting stunning portraits, product photos, or creative close-ups, a ring light stand can be an invaluable tool in your photography.
Portraits:
When photographing people, the ring light casts a fascinating glow into the eyes, making them appear more lively and attractive. This is why many professional portrait photographers use ring lights for their ring light photos.
Product Photography:
Ring lights provide additional illumination, minimizing harsh shadows. This makes them ideal for product photography, especially for small items such as jewelry, cosmetics, or fashion accessories. Cohesive lighting helps highlight product details and textures.
Creative Effects:
Light rings can also be used to create unique and artistic effects. For example, placing a ring light stand behind your subject can create a stunning halo effect. This technique is popular in fashion and beauty photo shoots.
Additional Tips for Professional Results
To take the quality of your videos and photos to the next level, consider the following tips:
- Use Diffusion: To make the light even softer, install a diffusion panel or use a softbox with a light ring. This will help remove any remaining harsh shadows and create a nicer look.
- Adjust the Distance: Experiment with the distance between the subject and the ring light. Closer placement can create a more intense and dramatic effect, while further placement creates softer lighting.
- Pair with Natural Light: Don't be afraid to combine natural light with your ring lighting. Place your subject near a window or other natural light source to improve the overall quality of your videos and photos.
- Mount a Camera or Smartphone: To record a video, attach your camera or smartphone to the center of the light ring. This setup ensures that the subject is perfectly lit and the camera captures the best angles.
- Create Catchlights: Make sure your subject's eyes have attractive spotlights and bright points that give life to the eyes. Adjust the position of the ring light stand until you get these reflectors.
- Invest in a Quality Mic: Professional sound quality is just as important as image quality. Consider using an external microphone to capture clear, crisp audio in your videos.
Conclusion
In the world of content creation, the importance of good lighting cannot be overemphasized. A ring light provides even, shadow-free lighting and is a powerful tool for producing professional-looking videos and photos. By choosing the right ring light, placing it effectively, and understanding how to control its settings, you can take your content to the next level. Whether you're a vlogger, beauty influencer, or photographer, a ring light can help you capture stunning images that will capture your audience's attention. So go ahead and light your path to creating great content with the power of a ring light.


Leave a comment
This site is protected by hCaptcha and the hCaptcha Privacy Policy and Terms of Service apply.