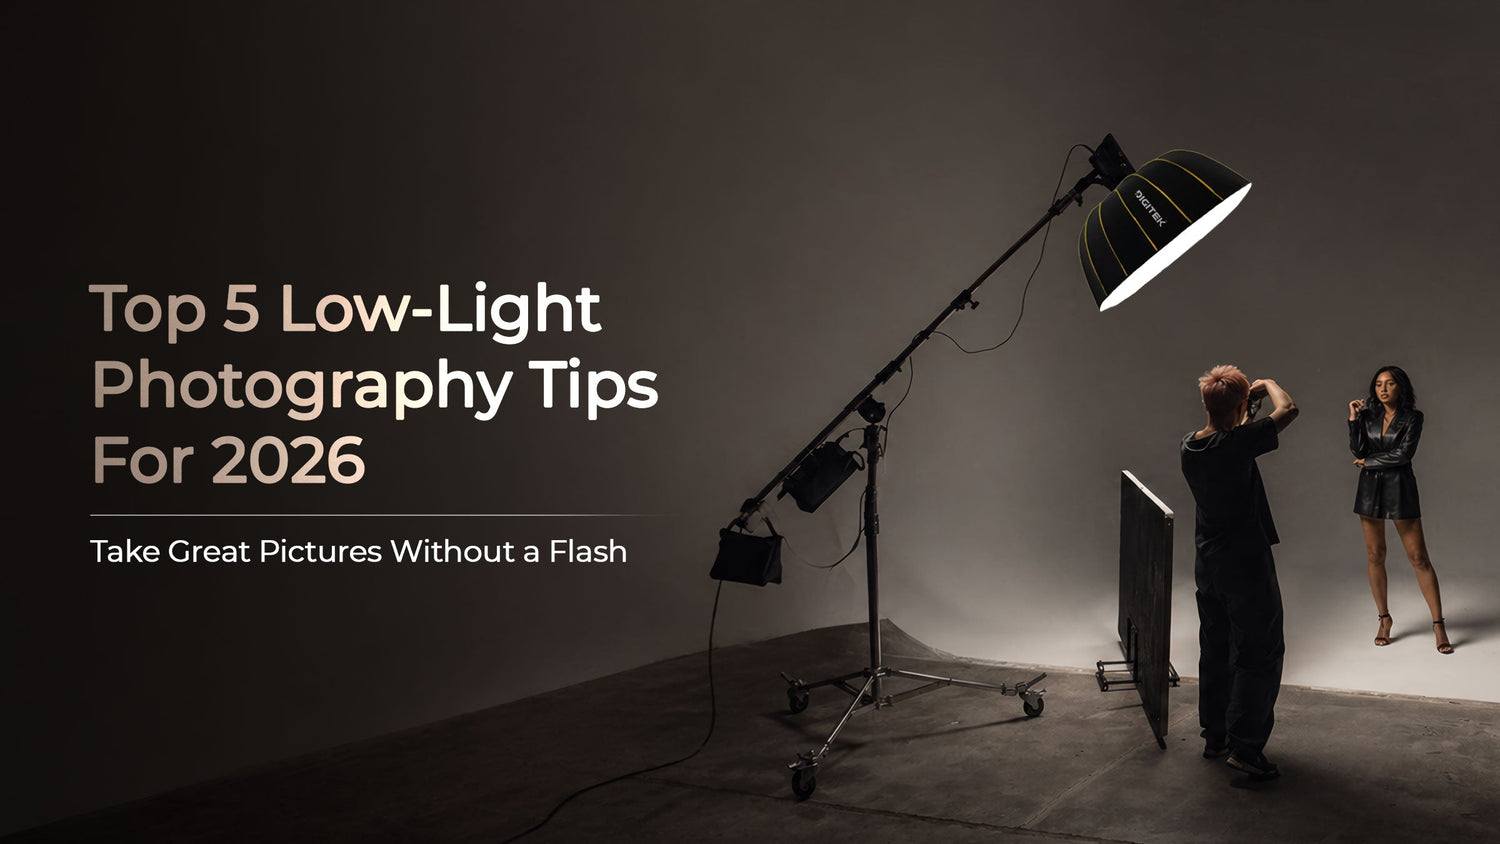
In the world of photography, mastering low-light conditions is a skill that every photographer should have in their toolkit. Whether you're capturing the vibrant atmosphere of a dimly lit cityscape, the intimacy of a candlelit dinner, or the serenity of a starry night, low-light photography opens up a realm of creative possibilities. But, taking great pictures in low light can be challenging. With the right techniques and equipment, however, you can achieve stunning results without the need for a flash. Further in this article, we'll explore the top 5 low-light photography tips for 2023.
Top 5 Low-Light Photography Tips
1. Choose the Right Camera and Lens
When it comes to low-light photography, your choice of camera and lens can make a world of difference. Advances in camera technology have given photographers more options for shooting in low light:
a. Full-Frame Cameras:
Full-frame cameras excel in low-light conditions due to their larger image sensors. These sensors capture more light, resulting in less noise and better image quality in dark environments.
b. Fast Lenses:
Invest in fast lenses with wide apertures, such as f/1.4 or f/1.8. These lenses allow more light to enter the camera, enabling you to shoot at faster shutter speeds and lower ISO settings, which reduces noise. Digitk’s lens are characterized by its bright f/1.8 maximum aperture, which excels in difficult lighting as well as benefits working with shallow depth of field techniques.
2. Master Manual Settings
To truly excel in low-light photography, you need to take control of your camera's manual settings:
a. Shutter Speed:
In low light, it's crucial to keep your shutter speed fast enough to avoid motion blur. However, this depends on your subject. For stationary subjects, a slower shutter speed can work, but for moving subjects, a faster speed is essential.
b. Aperture:
Use a wide aperture (small f-number) to let in as much light as possible. This also creates a beautiful depth of field, making your subject stand out against a blurred background.
c. ISO:
To reduce noise, it's best to keep your ISO settings as low as possible. Modern cameras handle high ISO settings better, but it's still best to start with a low ISO and gradually increase it if needed.
d. Manual Focus:
In low light, autofocus may struggle. Switch to manual focus and use the camera's live view or magnification features to ensure precise focus on your subject.
3. Use a Tripod or Image Stabilization
Steadiness is key when shooting in low light. Blurred images may occur due to even the slightest camera shake. To combat this, consider the following:
a. Tripod:
It is recommended to invest in a durable tripod to ensure stability for your camera. This allows for longer exposure times without the risk of a camera shake. Digitek’s tripod is made of high-quality ABS. The portable and robust design ensures that you can carry and use your mini tripod anywhere. Check out Digitek’s tripod
b. Image Stabilization:
Certain cameras and lenses possess an integrated image stabilization feature. This technology compensates for small movements and can be a lifesaver in low-light situations. Check if your camera or lens has this feature and use it when necessary.
4. Experiment with Long Exposures
Long-exposure photography is a powerful technique in low light. It involves using a slow shutter speed to capture movement and create stunning light trails or silky water effects. Here's how to do it:
a. Bulb Mode:
Many cameras have a "bulb" mode, which allows you to manually control the shutter speed for an extended period. Use a remote shutter release or a smartphone app to minimize camera shake during long exposures.
b. ND Filters:
Neutral density (ND) filters reduce the amount of light entering the lens, enabling longer exposures even in bright conditions. This is especially useful for creating dramatic effects in low light. Enhance the quality of your outdoor photos with the help of the Digitek UV protection filter.
5. Embrace Post-Processing
Post-processing is where you can fine-tune your low-light images and make them truly shine. Here are some tips for enhancing your photos after you've taken them:
a. Noise Reduction:
Use noise reduction software or tools in post-processing software like Adobe Lightroom to reduce any noise or graininess in your images, which can be more prominent in low-light shots.
b. Adjust Exposure:
Fine-tune exposure settings, such as brightness, contrast, and shadows, to enhance the overall look of your image.
c. Add Creative Effects:
Experiment with creative effects like adding a vignette, adjusting colors, or using filters to give your low-light photos a unique touch.
Final Words
To summarize, low-light photography can be both challenging and rewarding. By choosing the right camera and lens, mastering manual settings, using stabilization techniques, experimenting with long exposures, and embracing post-processing, you can capture stunning images in low-light conditions. And, when it comes to photography equipment and accessories, Digitek offers a range of high-quality products to support your low-light photography journey. So, get out there, embrace the darkness, and create captivating images that tell a story even in the dimmest of lights.

Leave a comment
This site is protected by hCaptcha and the hCaptcha Privacy Policy and Terms of Service apply.