Every content creator understands that creating the best content starts with the right lighting. Whether you're filming a makeup tutorial, shooting a vlog, or taking product photos, the lighting can make or break your shot. A proper setup not only looks better, but the correct lighting evokes the mood, tone, and clarity that all make great content.
At Digitek, we understand that light is more than just brightness; it is the art of shaping perception. This is why we created our ring lights for creators and professionals alike, such as Digitek DRL-14C/DRL-18HC9 and the DRL-18RT C6 — to help you create a professional studio look in your own space.
In this guide, we will share professional tips on how to set up a ring light and achieve a basic photography lighting setup that will make every picture look professional. We'll also share practical ring light photography ideas and tips, so you can really own your next shoot!
Why Lighting Matters in Content Creation
Lighting is the foundation of a basic photography lighting setup. It defines texture, highlights detail, and sets the mood of your frame. Without balanced lighting, even the best cameras can produce flat or dull results.
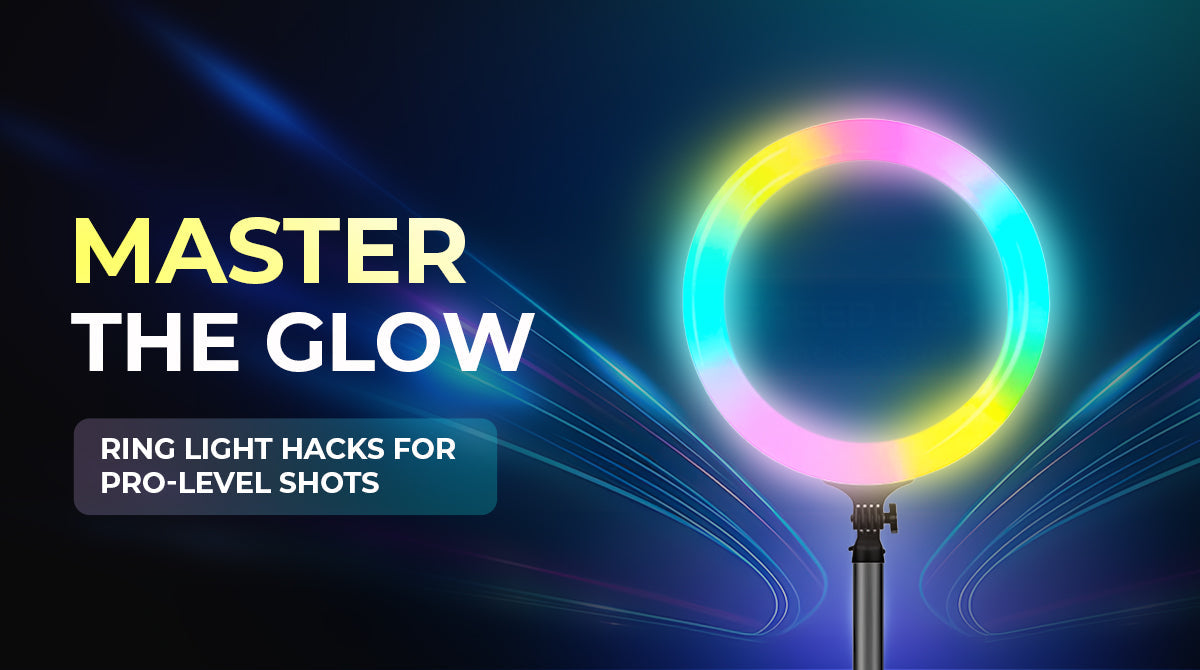
A ring light is ideal for portraits, makeup tutorials, live streams, and vlogs. You can have a proper amount of light to create astonishing cinematic tones, maintain even exposures, and achieve sharp focus simply by placing a ring light in its proper environment. Products like the Digitek DRL-18H C and DRL-018H were designed to achieve that "perfect from the box" experience, including built-in dimming, dual colour temperatures, and a sturdy stand suited for whatever creative situation.
So before diving into camera settings or editing filters, remember: the secret to professional-looking shots begins with mastering your light.
How to Set Up Ring Light
“How to set up a ring light” is one of the most asked questions. Properly setting up your ring light can take your visuals from mediocre to professional-grade. Whether you’re making a video, going live, or taking shots of products, the way a ring light is set up will ensure balanced lighting on any subject and a professional quality every time.
Step 1: Mount the Ring Light
Start by attaching your ring light to the tripod stand. Both the Digitek DRL-14C and DRL-18HC9 feature easy-to-install mounts that allow you to adjust the height from desk level to full-body level. Before changing angles and heights, ensure that your light is appropriately tightened.
Step 2: Position It at Eye Level
For portraits, vlogs, or makeup tutorials, keep your ring light as straight on to you as possible, at eye level. This will lessen deep, harsh shadows and provide an even glow across your face.
When photographing products, a subtle tilt will help highlight details and textures.
Step 3: Mount Your Camera or Phone
Most Digitek ring lights come with a flexible smartphone holder or camera mount in the centre. This ensures your subject is evenly lit with no excess glare. The DRL-18H C and DRL-018H are great options for creators using a smartphone when shooting.
Step 4: Adjust Brightness and Colour Temperature
Adjust brightness and colour temperature to achieve the right tone. Digitek ring lights are available in warm and cool modes, ideal for daylight or cosy indoor vibes. For example, the DRL-18RT C6 has remote-controlled dimming, allowing you to adjust lighting mid-shoot without disruption.
Step 5: Test and Tweak
Before filming or photographing, take a few test shots. Observe shadows and highlights, and adjust your ring light’s distance or angle accordingly. The ideal distance is usually 1–1.5 feet from your subject for optimal diffusion and soft light spread.
A basic photography lighting setup like this can instantly elevate your visuals, making your content look sharper, more vibrant, and professional, no matter what camera you use.
Choosing the Right Ring Light for Your Needs
Each creator has their own lighting needs. The right ring light differs depending on your medium, filming location, and how much control you have over light. Digitek offers a range of ring lights for beginners, vloggers, and professionals, ensuring you get the desired image in any environment.
For Beginners and Compact Setups
The Digitek DRL-14C (31 cm) is ideal for beginners or compact spaces. Lightweight and easy to set up, it’s perfect for makeup tutorials, Zoom meetings, or YouTube videos. The dual colour temperature allows switching between warm and cool tones while maintaining a natural look.
For Content Creators and Live Streamers
The Digitek DRL-018H (46 cm) and DRL-18H C (46 cm) provide brightness with versatility for live streaming or vlogging. The lights are dimmable with two-colour modes, suitable for home studios or daylight filming.
For Professional Shoots and Long Sessions
If your work includes commercial shoots, fashion photography, or long sessions, the Digitek DRL-18RT C6 (46 cm) is a robust option. Remote-controlled dimming, durable 158 cm stand, and AC power ensure constant, reliable lighting. Its no-shadow aperture specifications provide smooth, even light for every frame.
Ring Light Photography Tips for Professional Results
Mastering effective lighting isn’t just about turning your ring light on — it’s about shaping and controlling that light. Whether taking portraits, reels, or product shots, these tips will help you get the most out of your Digitek lighting equipment.
1. Find the Perfect Angle
Positioning is essential. For portraits, place the ring light slightly higher than eye level and angle downward for flattering shadows and natural highlights. For products, use a 45° angle to create depth and texture without glare.
2. Experiment with Colour Temperatures
Digitek ring lights operate in dual colour temperature modes. Warm tones create a soft, rich feel in beauty or lifestyle photography, while cool tones produce clarity for tech, jewellery, or product photography. Adjust depending on mood and story.
3. Combine Ring Light with Natural Light
When near a window, use the ring light as a fill source rather than primary light. This softens shadows while keeping a natural glow — an easy and effective tip for balanced lighting.
4. Manage Reflections and Shadows
For reflective surfaces (like glasses or glossy products), position your camera slightly off-centre from the ring. This prevents harsh reflections while keeping lighting even and soft.
5. Use Diffusers for Softer Light
For ultra-smooth lighting (e.g., makeup or close-ups), attach a diffuser or use a light with soft diffusion. The Digitek DRL-14C is a great example, reducing hard edges and providing a smooth glow.
A good basic photography light setup doesn’t require fancy equipment; it relies on creativity to control your light. With a Digitek ring light, you can achieve cinematic, professional, and perfectly lit images every time.
Conclusion
At Digitek, we have dedicated years to helping creators refine their craft with lighting that performs as effortlessly as their ideas. From the portable DRL-14C to the fully-equipped pro DRL-18RT C6, all our lights offer precise control, durable brightness, and effortless versatility — letting you focus on what matters most: your creation.
Try new ring light photography ideas, experiment with shadows, and apply these tips. When your lighting is just right, your story shines even brighter!


Leave a comment
This site is protected by hCaptcha and the hCaptcha Privacy Policy and Terms of Service apply.