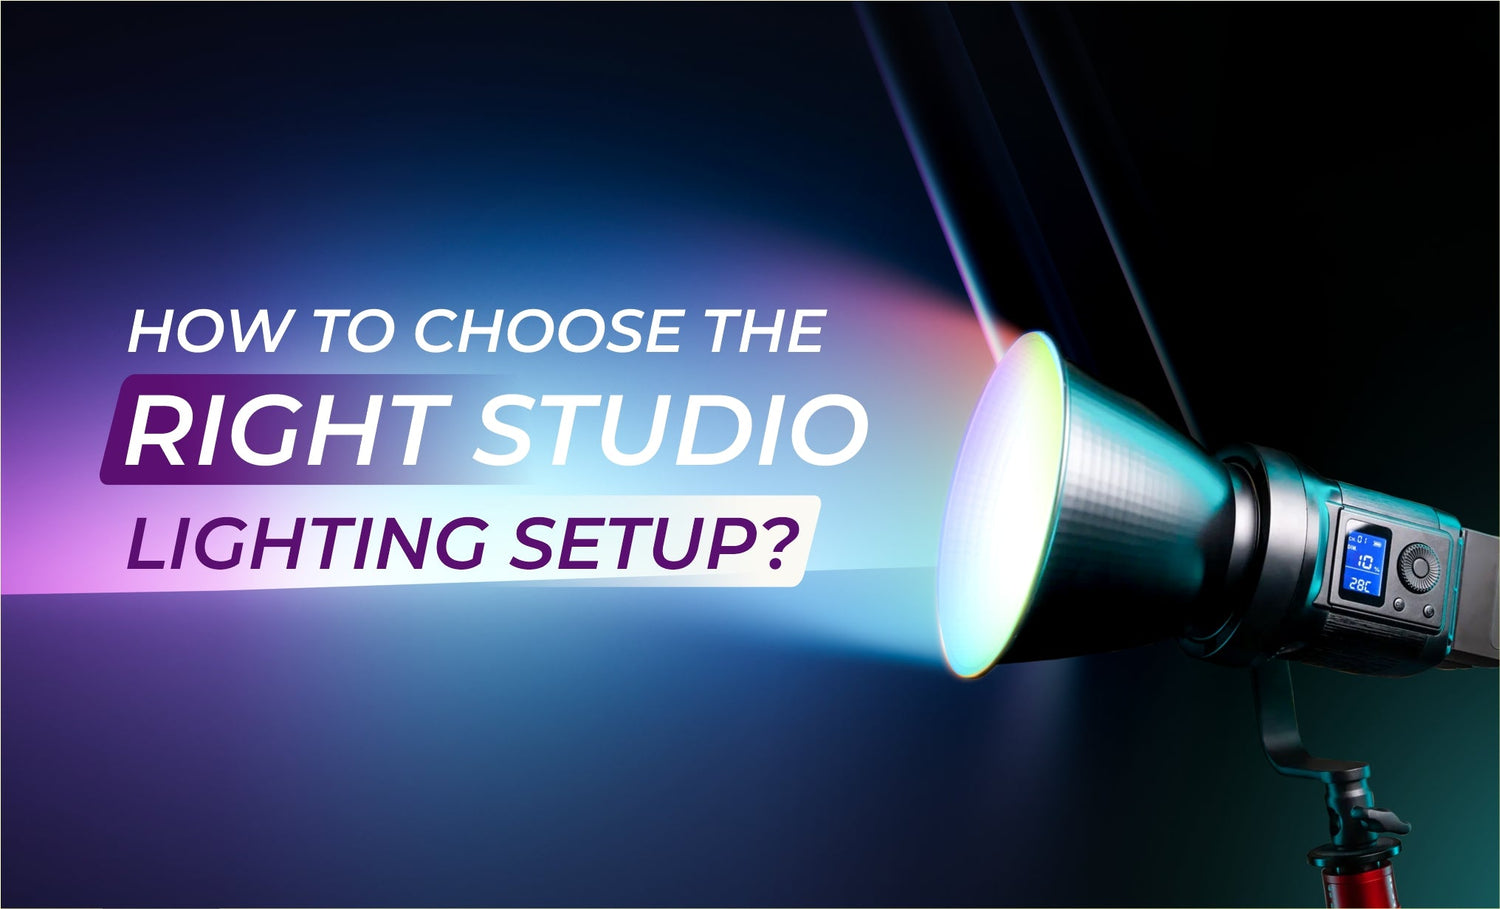
Photographers have so many options when it comes to lighting equipment it can be hard to choose the right one. But if you’re ready to go beyond natural light and get professional equipment, don’t be afraid to leap! Let’s start from the beginning.
Why is lighting important for studio videography?
Good lighting is important in video graphics because it can show how viewers capture video, direct their attention, and add dimension to a flat screen. By managing lighting, your company can create the right mood, set the mood, and convey strong emotion in corporate videos. Lighting plays an important role in a studio environment. By eliminating the uncertainty that comes with natural lighting, you’ll have full access to how your scene is lit. A well-planned lighting system provides stability, improved visibility and better illumination of the subject.
Here is how to achieve the perfect Studio lighting setup!
Key Light
The primary source of light is the directional light that helps define your subject. A bright light source is usually the most prominent in the scene.
Fill Light
Filler lighting can be used to soften the edges of shadows caused by key lighting and reduce contrast in the scene.
Rim Light/Backlight
Rim lights help isolate the subject from the background by reflecting light from behind. They are usually placed to subtly shine at the edges of the subject.
Ambient Light
Natural lighting is any type of lighting before the addition of artificial lighting. This can include sunlight coming through a window, an artificial light source, or indoor lighting.
Umbrellas
The umbrella comes in silver or white and easily attaches to your strobe in a tasteful way. When you point your strobe at the veil and display it on your subject, you get a great soft light. Despite its basic directionality, the umbrella has a lot of leaks and can be difficult to control.
Check out the best studio umbrella from Digitek: Digitek (Grid 120 cm)
Softboxes
Softboxes are available in different sizes and configurations. Placing a softbox over your light source enhances the quality of the light. The softbox is also instructive and easy to modify and customize. Softboxes are an important lighting revolutionary in any photography studio.
Check out the best studio Softboxes from Digitek: Softboxes
Strip Boxes
Strip boxes are a simple type of box with a long narrow strip that focuses incident light. They are great for creating a rim light effect by highlighting the background subject. Simple boxes, such as strip lights, are more effective because of the accuracy of the lighting.
Octaboxes
An octagon is a simple box with a rectangular shape. The round bulb inside is soft as well as reflective, perfect for taking beautiful photos. They are also very large, which makes them great for portrait photography.
Reflectors (The Modifier Kind)
Reflectors can change the direction of the light from your strobe by attaching them. Light is directed through a narrow tube, producing accurate illumination. They also offer a unique challenge with lighting. For example, a 110-degree reflector emits focused, intense light.
Snoots
Snoots are light modulators that reduce the focus of a light source to a certain point. They’re great for accent lights and ambient lighting, focusing the light onto a narrow beam.
Check out the best studio Snoot from Digitek: Snoot
Barn Doors
Sliding panels are used to control the amount of light entering the room. These frames can be adjusted to direct light to a specific area or prevent it from reaching certain areas.
Check out the best studio handheld RGB light with barn door from Digitek: barn door
Beauty Dish
Aesthetic expressions are tools that fall between soft and hard optical modifiers. It is often used for beauty, fashion and portraits. Many beauty brands use mesh and diffusion socks to better control the light. The light emitted by the beauty product is a mixture of soft and intense light.
Check out the best studio beauty dish from Digitek: Beauty Dish
Grids/Honeycombs
Grids are one approach to lighting. When placed in a beauty container, softbox, or reflective container, it focuses the light, reducing diffusion. The grilles allow further adjustment of the light direction.
Check out the best studio honeycomb octabox from Digitek :Octabox
Gobo
Gobo allows the source to change according to the light. It can block the beam or create complex patterns. Letting some light through, creating a pattern on the wall, it diffuses light very well.
Check out the best studio stainless Gobo from Digitek: GOBO
Color Gels
The gel can also be used for art. The color of your lights can be changed.
Reflectors
Reflectors are important for studio equipment. They help direct the beam back to the target, providing a fill-in lamp without additional fixtures. There are different types, like 5-in-1 or tri-flexors, for beauty shots. Reflectors and diffusers are important for controlling and directing light in the studio. It’s a good start. While this list does not cover all studio light equipment, it is a good starting point for beginners in studio photography.
Master studio setups with Digitek
Ready to reveal your studio plans? Digitek has got your back! Whether you’re just starting out or a seasoned professional, Digitek’s high-end products will make your trip amazing. Think versatile softboxes, sophisticated ring lights, rugged tripods and portable LED sticks – Digitech has got it all. And the best part? Digitek offers unbeatable quality at a price that won’t burn a hole in your pocket. So why get inferior when you can shine with the best? Digitek is the ultimate choice for studio lighting, ensuring your photography journey is nothing short of spectacular!
Essential Studio Lighting Guide
Imagine walking into a studio, and they’re all set for a proper shot. The theme is ready, the music lineup is impeccable, and your camera is good to go. But there is one thing that is not quite right - the light. Studio lighting can make or break a picture, so knowing how to set it up for stunning results is important.
Setting Up Studio Lighting
Before diving into installing lights, it’s important to consider a few key things. The type of photography you focus on is the first thing to keep in mind. Portraits, still lifes, and productions all have specific lighting needs. Another important factor is availability. If you work in a compact studio, you can adjust your lighting. Additionally, the mood and atmosphere you want to create in your photos will also affect the look and placement of your lighting.
Lighting Equipment
It’s time to consider the components that will affect your lighting system and choose the right lighting equipment. There are some types of lights commonly used in studio photography, including continuous light and strobes. Continuous light provides a consistent light source, making it easy to visualize how the light will affect your subject. Strobes, on the other hand, produce short bursts of intense light, allowing you to stop motion and capture sharp images. When choosing lighting equipment, it’s important to make sure it matches your camera. Look for lamps with adjustable power settings, as this will give you more control over the intensity.
Setting Up the Key Light
The primary light source, known as the primary lighting, is crucial to the mood and appearance of your photos. By adjusting its position and intensity, you can control the amount of light on your subject, affecting the final result. Start by setting the main light at a 45-degree angle to create depth and emphasize detail. Remember to play with height and distance to get the perfect light. Pay close attention to the intensity of the primary light, as that can greatly affect the exposure of your photo. Too much brightness can cause harsh shadows and overexposed highlights.
Fill Light for Better Illumination
Enhancing your subject with complementary lighting is key to achieving a balanced and harmonious lighting scheme. While the main light provides primary light, the fill light softens and evens out shadows. The low-intensity light fixture opposite the main light maintains a three-dimensional appearance without eliminating shadows. Adjust the intensity and consider using light adjustments for a softer, wider look that complements the main light instead of overpowering it.
Backlight for Depth and Separation

Backlighting can enhance your lighting setup and add dimension and contrast to your images. Placed behind the subject and pointed towards the camera, the backlight illuminates the edges of the subject, highlighting their shape and separating them from the background This technique works wonders in photography, creating and giving bright light the subject's pop. Play around with the intensity and space of the backlight to get the perfect look, and adjust as needed to keep your eyes open for any potential sparks.
Lights for Optimal Results
When installing your key lights, fill lights and backlights, it’s important to carefully adjust their positions to get the best results. Even small changes can dramatically affect the quality and beauty of your images. Start by analyzing how the light interacts with your subject and make subtle adjustments to reduce unwanted shadows or overly bright areas. Consider the angle, distance, height, and slope of each light source. Verify the lighting system by taking a test photo and testing it on a computer or large display.
Light Modifiers and Their Effects
Light switches play an important role in the use and control of light in your studio. These tools are of various types such as softboxes, umbrellas, reflectors and grids. Photographers love it, and the softboxes provide soft, evenly diffused light perfect for portraiture. Umbrellas, in contrast, provide a wider and less focused light which is ideal for softer, more detailed lighting.
The Color Temperature for Desired Effects
Vibrant colors are key to the look and feel of your photos. It refers to the warmth or coldness of light and is measured in Kelvin (K). Daylight typically has a color temperature of around 5500K, which is considered neutral. Kelvin values as low as 3200K produce warm, orange, while higher values such as 6500K produce cool, blue colors. Depending on the results you want, you can adjust the color temperature of your light by using gels or by choosing different bulbs. For example, an orange gel can be used to give a warm sunset-like glow, while a blue gel can cool the moon.
Final Words
Optimizing a studio layout can seem daunting, but with Digitek’s range of high-quality lighting equipment, it’s achievable. From main lights to softboxes, each piece plays an important role in creating stunning images. Whether you are a beginner or a professional, Digitek’s products ensure professional results, elevating your photography and video imagery to new heights.


Leave a comment
This site is protected by hCaptcha and the hCaptcha Privacy Policy and Terms of Service apply.